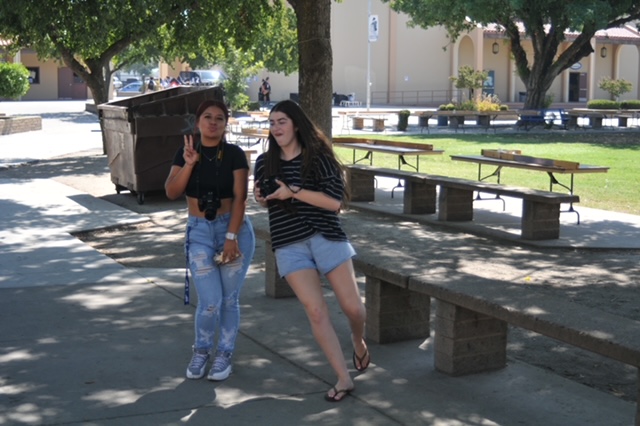
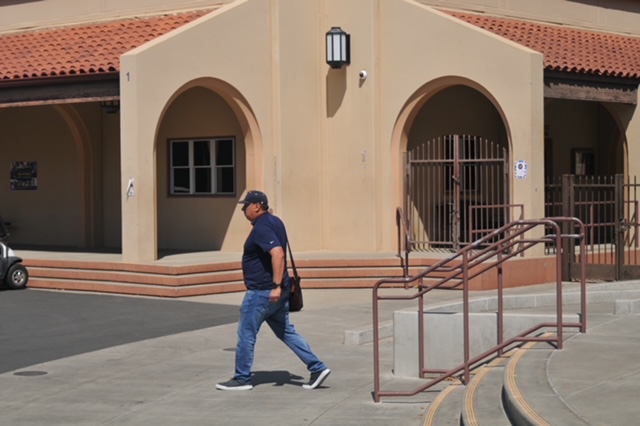
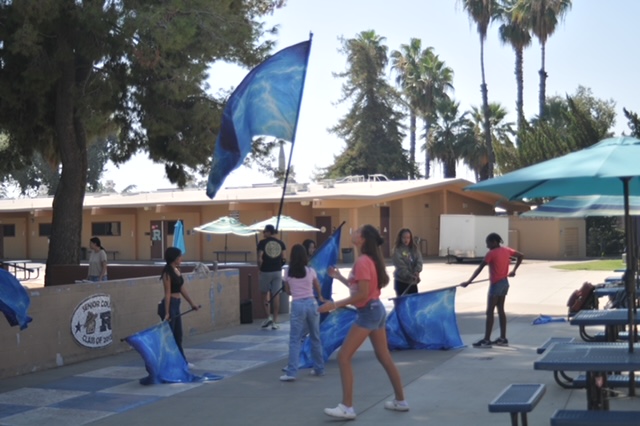
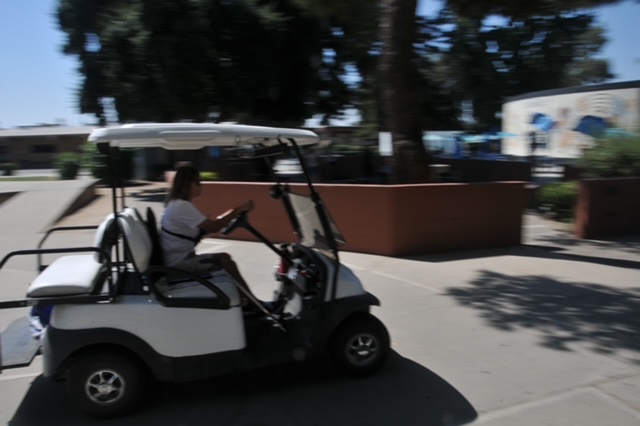
Reflection: Something I was able to do pretty easily was adjust the ISO based on the lighting of the room or outside. I learned that for lighter settings you do a lower ISO number like 200 and for a darker setting you do a higher number like 3000. A challenge I had was that when I adjusted the shutter speed, it would make my pictures lighter or darker. This was difficult when I needed a specific shutter speed to get the right blur because then it would make the contrast on the photo look either too high or too low I was able to adjust my settings and fix the problem because I noticed that the slower the shutter speed I had, the lighter the photos would be, and the faster the shutter speed, the darker the photos would get. One picture I liked was when the teacher was speed walking away, I was able to freeze that moment with the camera. To get the freeze effect, I made the shutter speed a little higher so it could stop time. Getting to work with the shutter speed allowed me to see that you can take so many different types of photos even when you make small adjustments. When I was trying to make by photos more blurry, I lowered the shutter speed. Sometimes the pictures would come out bad so I started making minor adjustments until I got the picture I wanted. Overall I liked this project because it allowed me to understand the settings of the camera more so I can take better pictures.
Blur Photos
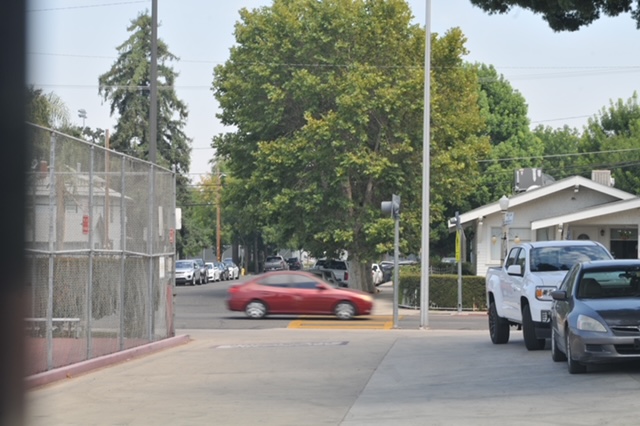
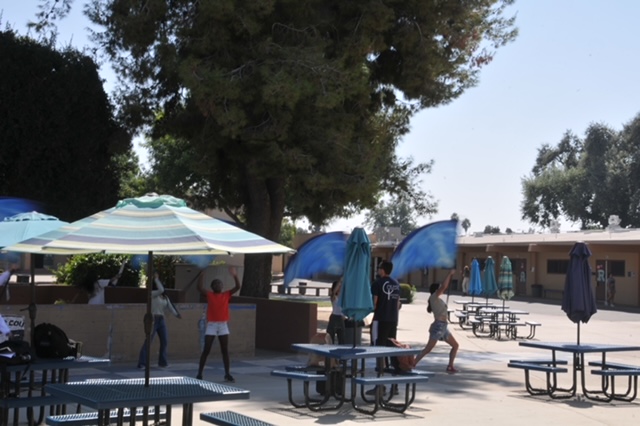
Freeze Frame
